I've always hated the default border that blogger automatically adds to pictures, and I've had one or two people in the past ask me how I removed it. So I thought I would write a a short and easy tutorial on removing the border. I recently simplified the directions and added pictures. Look for the yellow circled elements. Click on Pictures to Enlarge.
Remove the Border
Step 1 and 2-Go to blogger's main page. Click the design tab under your blog's name (shown in pic 1). Then click the edit html tab (shown in pic two).
Step 3-If you are on internet explorer go to the edit menu on your tool bar and click "find this item." (Or Hold down your Ctrl and your F key at the same time). Type in
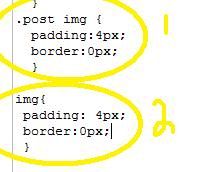
"img" on the box that pops up . Keep clicking next until you find one of the codes that look similar to one of the two options below (you might have both). It may look slightly different than the options presented below (step shown in picture 3).
Option 1-
.post img {
padding: 4px;
}
Option 2-
img{ padding: 4px;
}
Picture 3
Step 4- Once you find the applicable code copy and paste "border:0px;" (without quotes) between the semi-colon and the } symbol. The end result should look like this (step shown in pic 4):
post img {
padding: 4px;
border:0px;
}
Or this:
img{ padding: 4px;
5. Save your layout. That's it.


 Picture 2
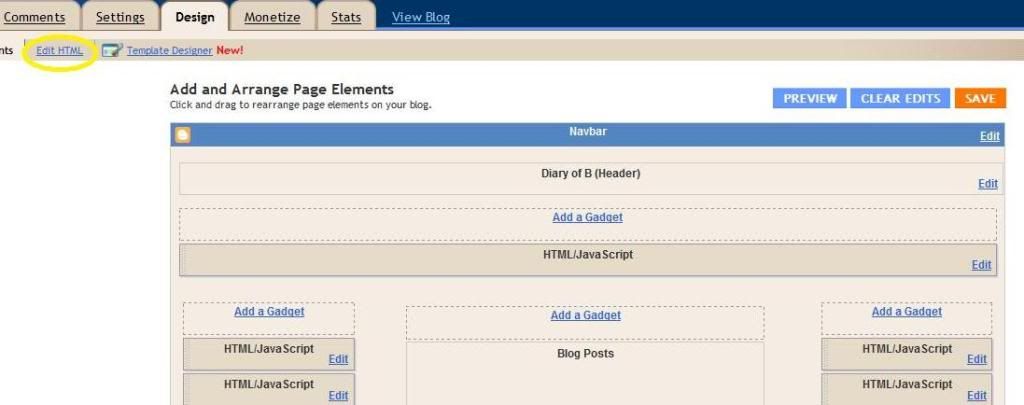


I guess I am too computer dumb, I do not understand the instructions.
ReplyDelete@Mike-I'm sorry I simplified it, and added pictures. Hope that helps!
ReplyDeletehey great tip! i'll try it after i get settled on my blog theme. thanks.
ReplyDeleteAre those a picture of wontons? I'm hungry now. I know, that is besides the point.. we are talking about the border around the picture, not the picture itself. but still, I'm hungry now. for wontons.
ReplyDelete